
Formatting simply implies preparing a storage device to store files for the first time. The storage device could be a Hard Disk Drive (HDD), Solid-State Drive (SSD), USB flash drive, or floppy disk (diskette).
This process typically creates a new file system on the storage device; let’s say you want to use a particular external drive on both Windows and Mac, then you will need to format it to a file system known as exFat, which is compatible with both OS.
As we further discuss how to format a drive on Mac, we will also mention some other file systems you can utilize while formatting.
Furthermore, you must know the difference between formatting and wiping a storage device. While formatting a drive creates only a new file system and returns the drive to its initial state, wiping deletes the entire data on the storage device and returns your computer to its original condition (as if it was new).
How To Format External Drives On Mac Laptops
Formatting external drives on Mac is quite simple and can be done within some minutes following the steps outlined below:
Step 1: Remove other accessories attached to your Mac
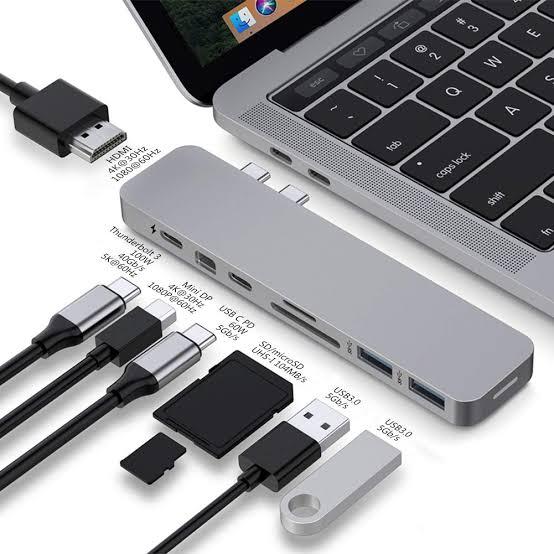
You must remove other files attached before you format a drive in Mac. This will help you to avoid formatting the wrong drive and prevent the loss of essential data.
Step 2: Open the Disk Utility
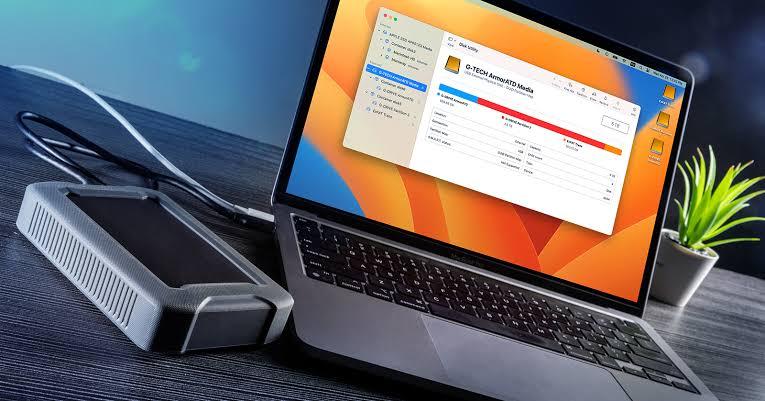
The easiest way to format a drive on Macbook is via the Disk Utility software. The software comes with every Mac, so you do not need to download and install it. Navigate to your search bar (CMD + Spacebar) and type in “disk utility” to launch it.
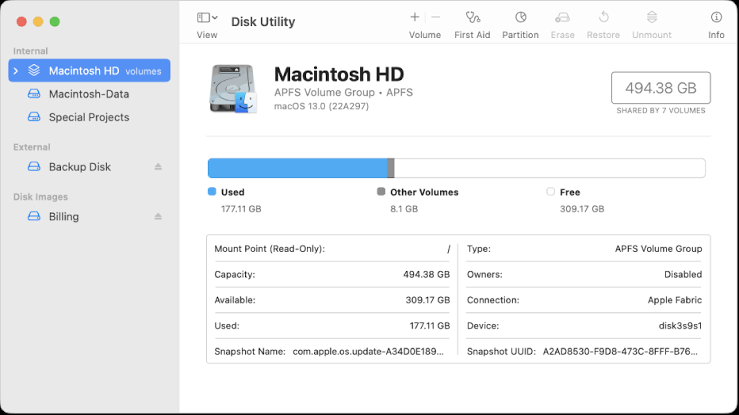
Step 3: Choose the drive to be formatted
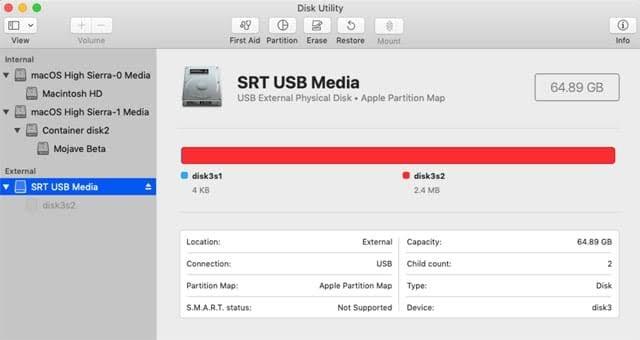
The next step is to select the drive you want to format from the left–hand bar option under “external drives” (you should have one since other accessories have been removed). Be careful not to select the “Macintosh HD” under the internal drive, which is your internal hard drive.
Step 4: Click Erase at the top task bar
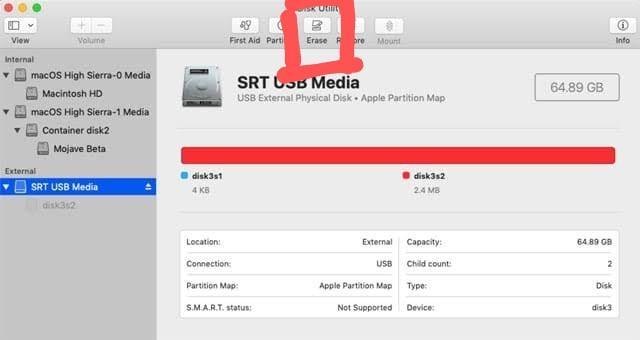
After highlighting the drive to be formatted, click “Erase” from the above bar for the format box to pop up.
Step 5: Enter a name for the drive and choose the desired format
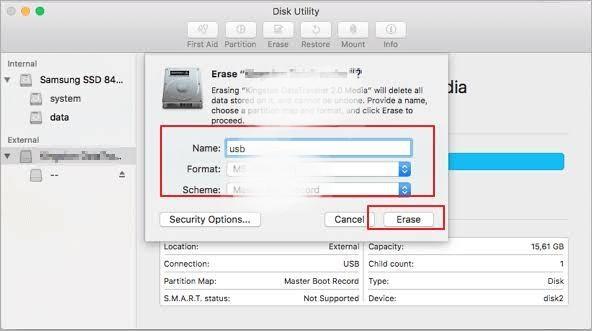
In the format box that popped, enter a name for your drive if you wish to change the existing name and select a format (file system) for the drive. As explained earlier, most external drives are formatted in Windows (NTFS), so you must change it to your preferred file system.
Also, if you do not see all the file systems we have listed, proceed to “View” at the top-left corner and select “Show all devices” from the dropdown. Afterward, click on “Scheme” and select “GUID Partition Map” from the dropdown to view all the available file systems.
Step 6: Click on “Erase”
And that’s it; the last step is to click “Erase,” and the drive will be formatted. If you have chosen the option to encrypt, you can also set the strength of the encryption from the “Security options.”
How To Format Internal Drive On Mac Laptops
Formatting hard drives for Mac involves steps similar to the ones used to format the external drives. You can easily do this by formatting the “Macintosh HD” or through the following steps:
- Restart your Mac by pressing down the power button or by clicking the Apple button and then, Restart
- As your system reboots, hold down the CMD and R keys simultaneously until the macOS Utilities appears
- From the screen, select “Disk Utility.”
- Click on “Macintosh HD and tap “Erase.”
- Rename (optional) and select the format of choice
- Click on “Erase” on the prompt and wait for the formatting to be completed
- Close the “Disk Utility” and Reinstall macOS
- Follow the on-screen instructions until the Setup Assistant display on your screen
- Hold down the CMD and R keys to shut down your system and complete the formatting process
Available File Systems On Mac
The following are the two file systems available for Mac in the Disk Utility:
APFS (Apple File System)
The APFS is the latest file system on Mac and is featured in macOS 10.13 or later. According to Apple, it is wholly enhanced with solid encryption, space sharing, and improvement in other file system fundamentals, although some tests have proven otherwise. Typically, APFS is optimized for Flash/SSD storage of Mac 10.13 or later, but it can still be utilized for HDD and USB flash drives.
You can also make the APFS encrypted, case-sensitive, or both. During formatting, you can partition easily with the APFS and distribute free space among volumes in the drive. The volume in the drive can also take different APFS formats, which include APFS, APFS (encrypted), APFS (case-sensitive), and APFS (case-sensitive, encrypted).
Mac OS Extended
The Mac OS Extended is best for formatting a drive on a Mac of OS 10.12 or earlier. There are four available sub-type under this file system, as listed below:
- Mac OS Extended (Journaled): Runs on Mac Journaled HFS Plus and does not encrypt the drive. Also, this subfile system is not case-sensitive and should be used for faster formatting.
- Mac OS Extended (Journaled, Encrypted): This file system works the same way as the Mac OS Extended (Journaled) but requires a password to ensure the partition is encrypted.
- Mac OS Extended (Case-sensitive, Journaled): Another file system available for Mac without encryption but case-sensitive to folder names. Therefore, two “Content” and “CONTENT” folders will be read separately under this format.
- Mac OS Extended (Case-sensitive, Journaled, Encrypted): This file system combines the three other types of Mac OS Extended file systems. Hence, it is case-sensitive to folder names, requires a password, and encrypts the partition.
In addition to the Mac file system, there are also two available file systems for Windows and also compatible with Mac:
- MS-DOS (FAT): This file system is best used when formatting drives for Mac, Windows, and Linux that are 4GB or less.
- ExFAT: Best used to format drives for Windows, Mac, and Linux of volumes over 4GB.
SEE ALSO: Why is MacBook Pro a Good Laptop for Programmers?
Conclusion
As you can see, it is easy to format a drive on Mac, and the process should not take more than 10 minutes. Furthermore, formatting your external drive before usage will ensure it runs on the correct file system and can be read by your Mac. Also, you can format your drive to run on Windows or both by selecting the correct format (file system).
Importantly, you should only format your internal drive after backing up your data or when you are sure the data is less critical.
Pingback: How to Delete Apps on Mac – Simple Steps -